Keith Harring Lines Figure
Pre K
Lines and Primary Colors
Lines lines lines..color color color...I wanted to start with the basics...this was my first art project of the year. I wanted to find a fun and exciting artist to show the kids and I picked the perfect one...Keith Haring! Reading native and live around the college I went to I thought hey he is local lets try him. The kids love him and they still rememeber him! I showed them what his art work looks like how he expressed himself on wall of building and subways. He would use zig zag lines, straight lines, wavy lines, dotted lines, etc.
Once I gave them a quick bio on the artist I showed them a two mintue video, which if you just youtube Keith Haring there are some interesting videos. The one I chose was the one he went to a school and helped them decorate a wall and also shows his works and how famous he got. The kids were very interested.
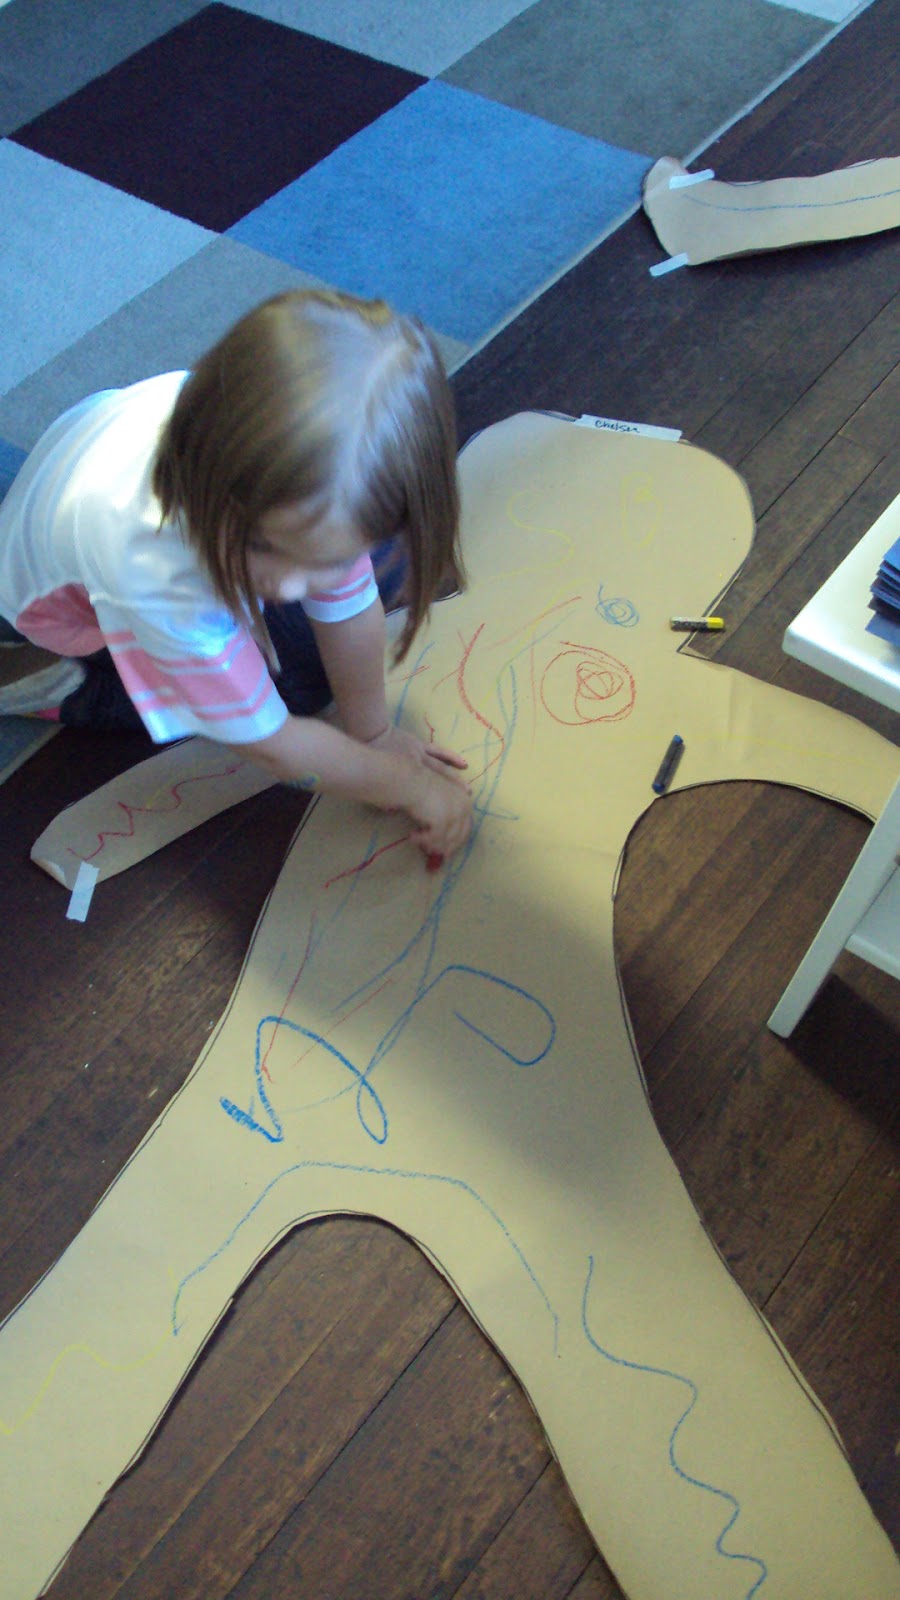
After that I told them they will be making their own figure...themselve! I have this huge roll of brown paper so I had the kids traced. This was tricky so if you think your kids can trace in partners try...What I did was had the kids stand in line and then trace them quickly. It works if you have the paper already pre cut. Trace then roll up and take another roll and trace... I only have 10 kids in my class so I got it done quickly.
I took the rolls home and cut the figures out...I know..pain but I got it done cause I did trace exactly to them. Next class I taped the figures on the floor with their names on the tape. They came in and went to their figure. I also was teaching lines and primary colors so on each figure I gave them a blue, yellow, and red oil pastel. They were instructed to draw a bunch of different types of lines. We went over lines during the Keith Haring bio. We discussed the different types of lines and I also read a really great line book, "Lines that Wiggle". Great book! So the kids did a great job and drew all types of lines with the primary colors. and then BAM they got themselves a crazy figure!

 SPAGETTI!!!! This was sooo fun and the kids loved it!!!! We are still on primary colors so I used blue, red, and yellow tempera paint. I have trays and lined them with wax paper (easy clean up). The night before I cooked some spaghetti, not angel hair...too thin! I put a couple strained of noodles in each color. I had one tray for two students, they had to share. STRESS to them that they are not allowed to put the wrong noodle in the wrong color on the tray even though the noodle in the end will become miscolor from the paper paint...lol. Also please please please STESS to them if they are pre K DO NOT USE YOUR HANDS TO SPREAD THE PAINT AROUND!! I had a couple kids decide to make it finger painting instead...NO! LOL But I had them do two papers and mounted the two pieces to one black paper...looks really good.
 Just a suggestion, the spaghetti will start to smell after a day or two so I do not suggest to make a whole thing of spaghetti and use it for the whole week....it will smell!


